Quick answer
To receive the ball in field hockey, get your body in line with the pass early, hold the stick low with soft hands and angle it so the ball stays on the ground. On the forehand, receive the ball in front of your right foot with an open stick face. On the backhand (reverse stick), turn the stick over and receive in front of your left foot. Let the stick "give" slightly on contact so the ball stops close to you, ready for your next touch. A wall or rebounder at 3–5 m (10–16 ft) is all you need to practise both sides at home.
Key takeaways
- Move your feet first. A good reception starts before the ball arrives.
- Soft hands, especially the bottom hand, absorb the pace of the pass.
- Angle the stick slightly forward over the ball so it can't bounce up and over.
- Receive in front of your body, not beside or behind it.
- Train the backhand as much as the forehand. Most players don't, and it shows.
Why receiving matters
A bad first touch costs time, and time is what defenders need to close you down. A clean reception lets you pass, dribble or shoot straight away. Coaches at tryouts and club trials watch first touch closely, because it shows how comfortable a player is under pressure.
Forehand receiving: step by step
- Line up early. Move so the ball travels toward your right side, in front of your right foot.
- Get low. Bend your knees and lower the stick close to the ground. The lower your hands, the easier it is to keep the ball down.
- Angle the stick. Tilt the top of the stick slightly forward, ahead of the bottom. The ball meets the face and is pushed down, not up.
- Soft contact. Relax the bottom hand and let the stick move back a few centimetres as the ball arrives.
- Prepare the next touch. Stop the ball slightly out in front, so you can pass or move without first fixing it.
Backhand (reverse stick) receiving: step by step
- Line up on the left. The ball should arrive in front of your left foot.
- Turn the stick over. Rotate with the left hand so the face points to the left and the toe points down.
- Keep the stick low and angled. As on the forehand, the top of the stick leans slightly forward so the ball stays down.
- Watch the ball onto the stick. The reverse side is smaller, so concentrate on the moment of contact.
- Transfer. After receiving, move the ball to the forehand or play it on straight away.
Some players also receive on a flat or nearly flat stick on the reverse side, especially on fast passes. Your coach may teach one version or the other. Both work if the ball ends up close and under control.
Common receiving mistakes
| Mistake | Result | Fix |
|---|---|---|
| Stiff hands | Ball bounces away | Relax the bottom hand and let the stick give |
| Stick too upright | Ball runs under or pops over the stick | Bend lower and lean the top of the stick forward |
| Receiving next to the feet | Cramped, slow next touch | Meet the ball out in front of your body |
| Standing still and waiting | Defender steps in first | Move toward the ball or into space before it arrives |
| Turning the whole body to avoid the backhand | Slow, predictable | Practise reverse receiving until it feels normal |
Receiving drills you can do at home
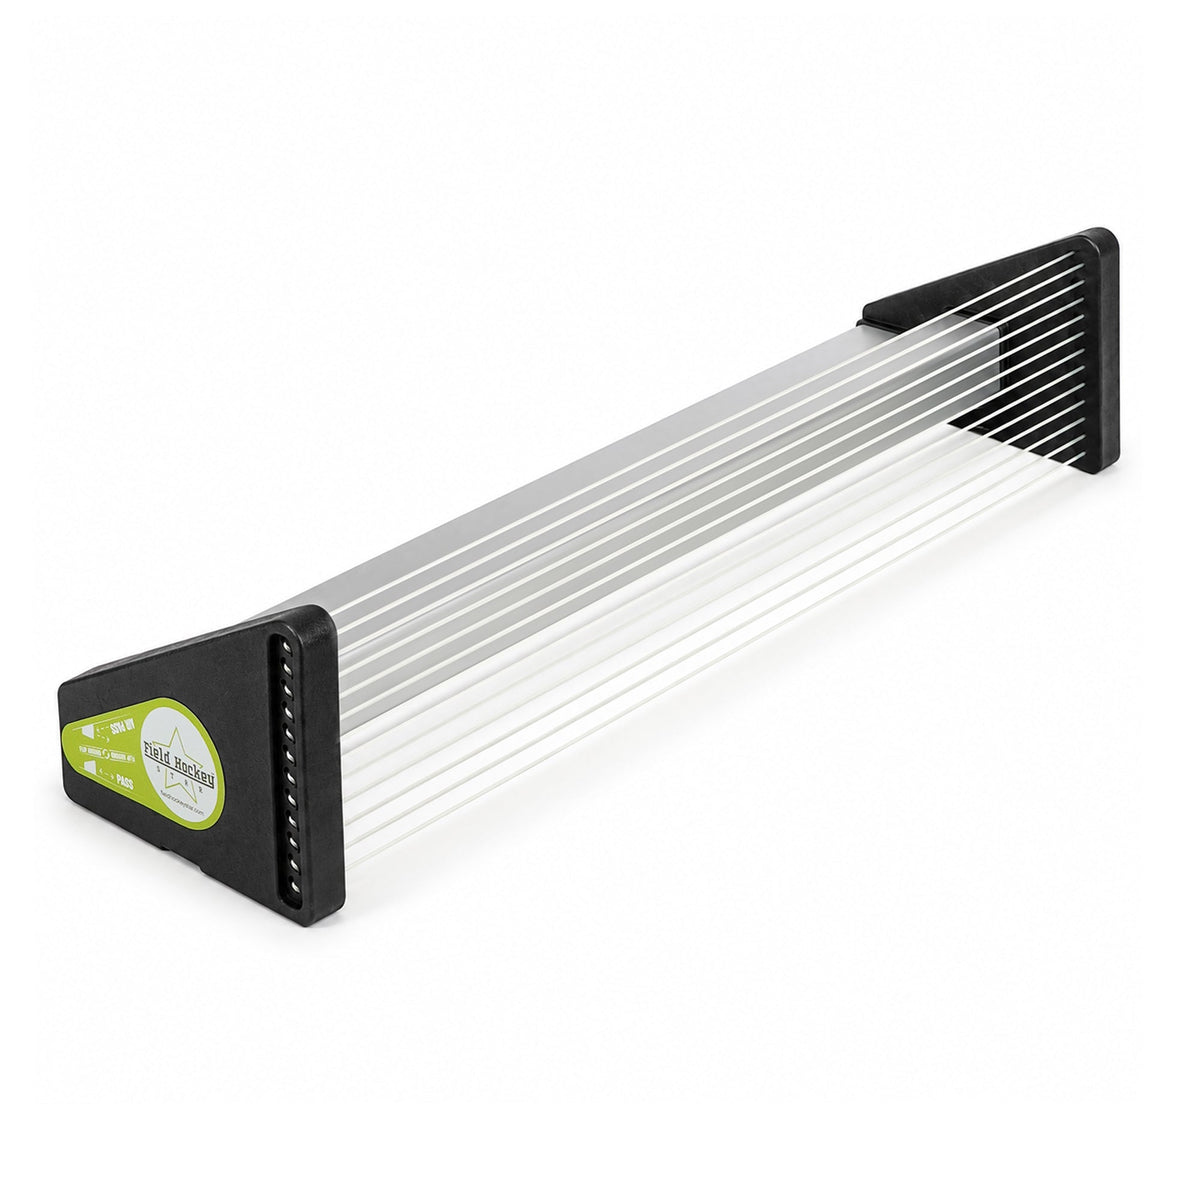
Use a wall or a Rebounder. Push passes only, ball on the ground.
1. Forehand stop and pass (3 × 1 minute)
Stand 3 m (10 ft) away. Push pass, receive dead in front of the right foot, pass again. Count clean receptions.
2. Reverse receiving (3 × 1 minute)
Pass slightly to your left so the ball comes back to your reverse side. Receive, move it to the forehand, pass.
3. Alternate sides (3 × 1 minute)
One pass to the right, one to the left. Forces quick footwork and stick turning.
4. Receive and move (4 × 45 seconds)
Receive the ball and take it to one side with your first touch, about 1 m (3 ft), then pass from the new spot. This is how you receive in games.
5. Increase distance and pace
Every week, step back half a metre (about 1.5 ft) up to 5–6 m (16–20 ft), and pass harder. Faster balls are harder to control, so it is a natural progression.
The Rebounder is useful indoors, on flooring tiles or anywhere you can't use a wall. The Passing Kit combines it with 4 m² (43 ft²) of tiles for a ready-made passing lane. A solid wall works just as well if you have one.
Honest notes
- Home drills build technique and habits. Receiving with a defender on your back still needs team practice.
- Aerial balls and hard hits should only be received on the pitch, with a coach and full protective gear.
FAQ
How do you stop the ball in field hockey?
Line up with the ball, keep the stick low and angled slightly forward, and let your hands give on contact. The ball should stop in front of you, ready for the next touch.
Where should I receive the ball on my backhand?
In front of your left foot, with the stick turned over and held low. Then move the ball to the forehand or play it on.
Why does the ball bounce off my stick?
Usually your hands are too stiff or the stick is too upright. Relax the bottom hand and lean the top of the stick forward.
How can I practise receiving alone?
Pass against a wall or rebounder from 3–5 m (10–16 ft). Alternate forehand and reverse receptions and count clean touches per minute.
Should I stop the ball dead or keep it moving?
Beginners should learn to stop it cleanly first. As you improve, receive the ball into space with your first touch, so you are already moving.
Related articles
- How to push pass in field hockey
- Field hockey drills at home without a partner
- Field hockey rebounder buying guide
In the US? The Rebounder, Skiller and Skills Zone are also available on Amazon.