Quick answer
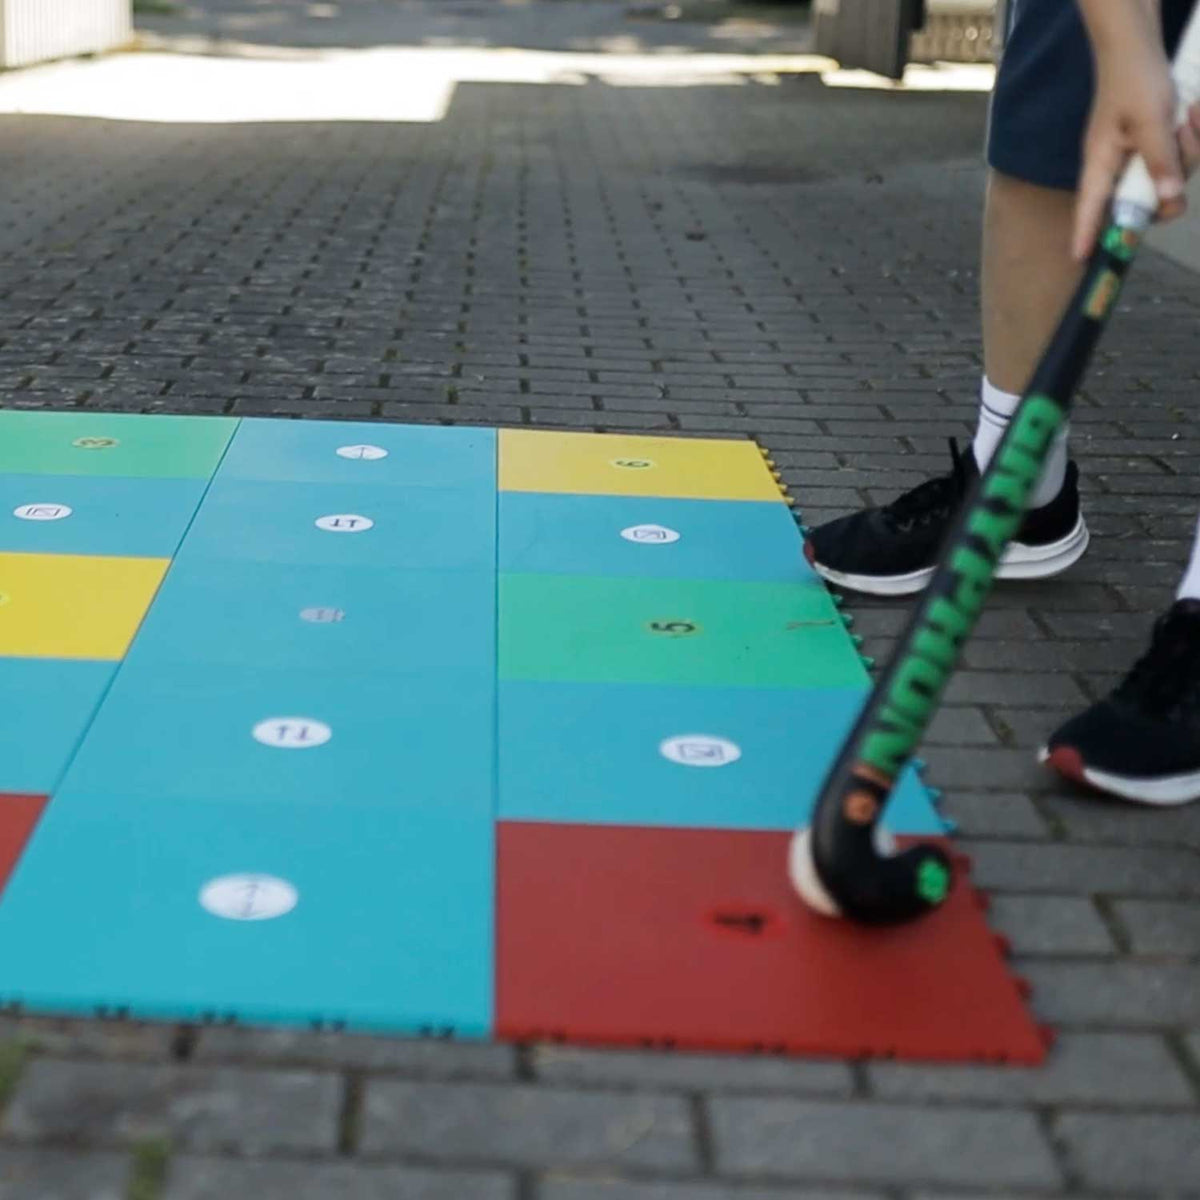
A pull-back, also called a drag-back, is a move where you place your stick on the far side of the ball and pull it back towards you, away from a defender. Keep your knees bent, put the flat side of the stick in front of the ball, and drag it back in one smooth movement while you step back. Then take the next touch straight away: turn, pass or go past the defender. Start slowly on the spot, then add movement, cones and a decision after the pull-back.
Key takeaways
- The pull-back buys you time and space when a defender closes you down.
- Put the stick in front of the ball, not on top of it, and pull with your left hand guiding the stick.
- Move your feet with the ball. A pull-back with frozen feet leaves the ball stuck under your body.
- The move is only half the skill. The next touch decides if it works.
- It is a ground skill, so you can train it safely at home.
When to use a pull-back
- A defender steps in to tackle: pull the ball out of reach, then go round them or pass.
- You run out of space: near the sideline or baseline, pull back and turn to find a new option.
- You want to change the angle: a short pull-back opens a passing lane that was blocked.
- Setting up a V-drag: the pull-back is the first part of the V-drag, where you pull back and then push the ball away at an angle.
How to do a pull-back, step by step
- Ready position. Knees bent, back fairly flat, ball in front of you and slightly to your right. Left hand at the top of the grip, right hand lower down.
- Reach. Move the stick past the ball so the flat side is on the far side of it, touching the ball. Keep the stick low and close to the ground.
- Pull. Drag the ball back towards your feet in a straight line. Use your arms and a small step back, not just your wrists.
- Control. Stop the ball where you can play it again, usually just in front of your right foot.
- Exit. Play the next touch at once: turn, push pass, or move the ball to the side and accelerate.
Common mistakes
| Mistake | What happens | Fix |
|---|---|---|
| Stick on top of the ball | Ball slips under the stick or stops dead | Place the flat side behind the far side of the ball |
| Standing too upright | Little control, ball runs away | Bend knees more, lower hands on the stick |
| Pulling into your feet | Ball hits your shoes | Pull to the right of your feet and step back as you pull |
| Pausing after the pull | Defender recovers | Practise the exit touch as part of the move |
Drills: from static to game-like
Drill 1: Static pull-backs (3 × 1 minute)
Stand still. Push the ball forward 50 cm (20 in), reach past it and pull it back. Repeat at a steady rhythm. Aim for smooth, quiet touches, not speed.
Drill 2: Walk-and-pull (3 × 1 minute)
Dribble forward slowly for 3 m (10 ft), pull back, take two steps back with the ball, then dribble forward again. Your feet should move with every pull.
Drill 3: Cone pull-back and turn (4 × 45 seconds)
Place a cone 4 m (13 ft) in front of you. Dribble towards it. About 1 m (3 ft) before the cone, pull back, turn your body and dribble back to the start. Alternate turning left and right.
Drill 4: Pull-back and pass (3 × 1 minute)
Dribble towards a wall or a Rebounder. Pull back, move the ball 1 m (3 ft) to the side, then push pass. Receive the return and repeat. This links the move to a real outcome.
Drill 5: Reaction pull-back (3 × 45 seconds)
Dribble slowly on the spot and wait for a signal: a parent or teammate clapping, or a colour call from the free Field Hockey App with a Skiller. On the signal, pull back and go in the direction called. This trains the timing you need against a real defender.
Drill 6: Shadow defender (with a partner)
A partner walks towards you as a passive defender. When they come within a stick length, pull back and go round them. Let the partner add more pressure as you improve.
Where to practise
You need about 2 × 4 m (6.5 × 13 ft) of flat ground. A smooth garage floor, a driveway or short grass all work. On a rough floor, flooring tiles give a smoother roll, but they are not the same as artificial turf, so play on the pitch too to get used to the real surface.
FAQ
Is a pull-back the same as a drag-back?
Yes. Coaches and players use both names for the same move: pulling the ball back towards you with the flat side of the stick.
What is the difference between a pull-back and a V-drag?
The pull-back is just the backward drag. A V-drag starts with a pull-back and then pushes the ball away at an angle, so the ball travels in a V shape.
Can I do a pull-back on the reverse stick?
Yes. Once the forehand version is smooth, practise pulling back on your left side with the reverse stick. It is harder, so start static and slow.
How long does it take to learn?
Most players get a basic pull-back in a few sessions. Using it at speed under pressure takes several weeks of regular practice.
Is the pull-back safe to practise indoors?
Yes. The ball stays on the ground, so it is one of the best skills to train at home.
Related articles
- How to do a V-drag (and when to use it)
- Elimination skills: how to beat a defender 1v1
- Field hockey dribbling drills for beginners
In the US? The Rebounder, Skiller and Skills Zone are also available on Amazon.